I have lost actual days of my life to feathers. Not metaphorically — I mean sitting there placing individual feather cards on a creature’s wing, one at a time, nudging overlap so it does not read like roof shingles. So when I saw Sherzod Kadirov’s new free tool doing the rounds this week, I stopped what I was doing to look properly.
What it actually does
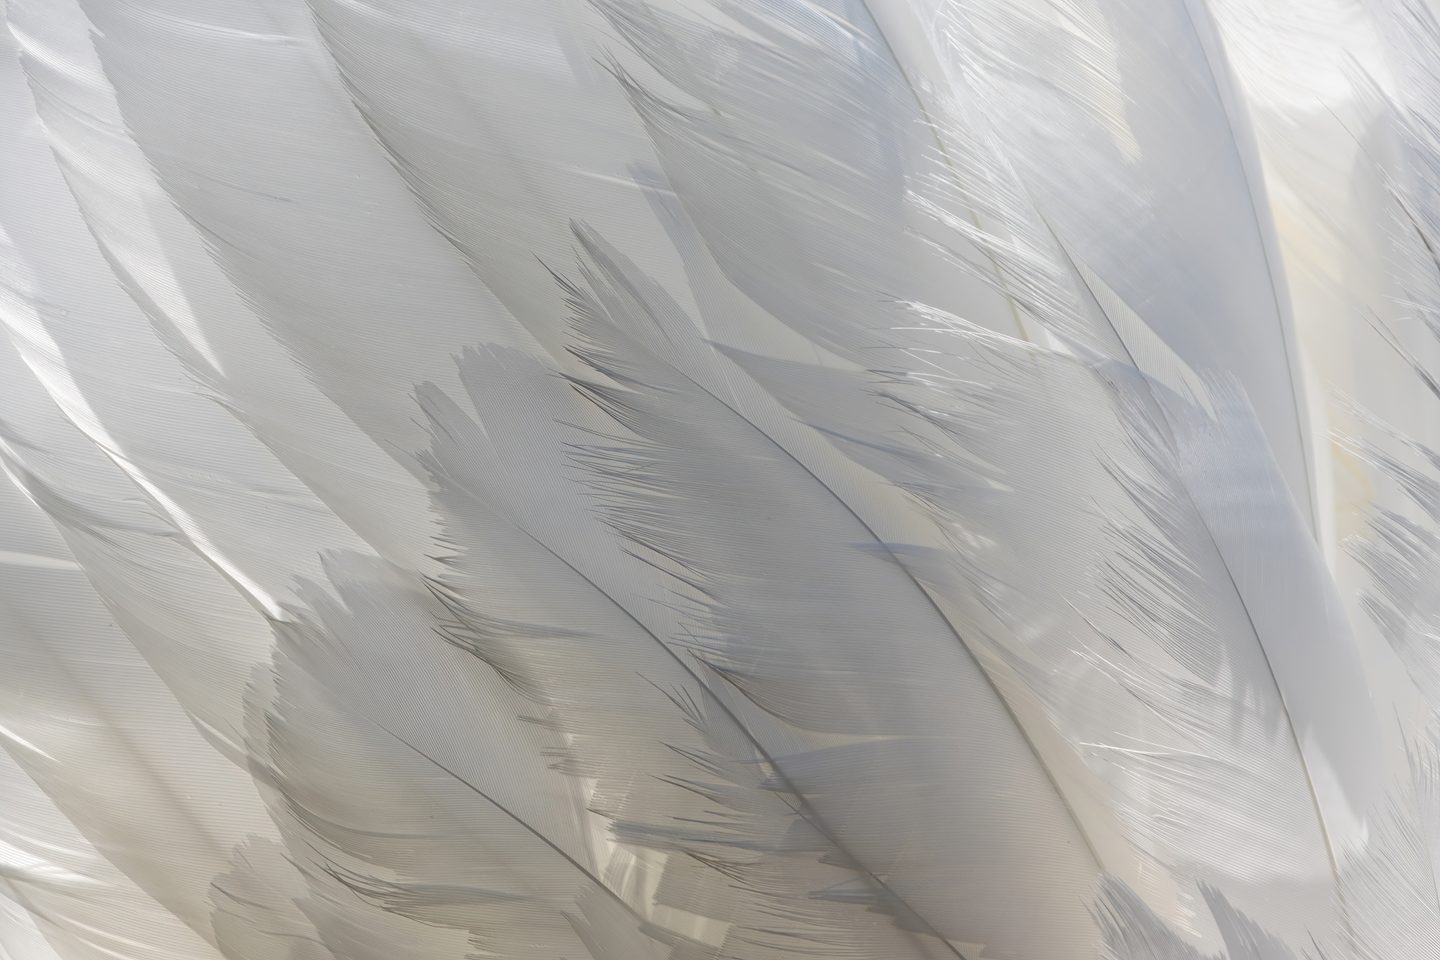
The pitch is simple and, if you have ever groomed hair in Blender, immediately clicks: it takes the hair curves you already groomed — the same particle/curve system you would use for fur — and procedurally converts them into feathers using Geometry Nodes. You are not learning a new workflow. You are reusing the one you already have.
From what is documented so far, it covers the parts that actually eat time in a manual feather pass:
- Grooming feathers directly on the character surface, same as hair
- Custom feather shapes, so you are not stuck with one silhouette
- Random or hand-painted variation across the coat, instead of one feather stamped a thousand times
- Control over length, scale and surface alignment per region
- Procedural shading — base colour, root/tip masks, per-feather colour variation — baked into the node setup rather than hand-painted per card
That last point is the one I care about most. Root-to-tip colour variation is what sells a feather as organic rather than a decal. Doing that by hand across a few thousand feathers is how you lose a week.
Why this is a bigger deal than it sounds
Blender has had procedural hair for years. Feathers never got the same treatment, because a feather is not a hair — it is a flat, shaped, often patterned card with its own topology, and every creature-feather pipeline I have seen was a bespoke rig: a particle system driving instanced cards, a pile of custom drivers, and a lot of manual cleanup where the coverage looked wrong. Every studio, and every solo artist, was reinventing that wheel.
Geometry Nodes is exactly the right tool for closing that gap, because it lets someone build the “shingle logic” once — the rules for how coverage, overlap and orientation should behave — and hand you the controls instead of the plumbing. That is the same shift Blender’s hair and scattering nodes went through a couple of years ago, now landing on birds, dinosaurs and anything else with a coat that is not fur.
It also means feathers stop being a “someone on the team is good at this” problem. If the tool holds up, grooming a bird is no harder than grooming a wolf.
Where I would use it first
Not on a hero creature on day one — I would want to see how it holds up under an animated rig, since feathers deform very differently from fur, especially around joints where overlap needs to open and close believably. That is the real test for any feather system, procedural or not.
Where I would reach for it immediately is background and set-dressing work: flocks, roosted birds, feathered set pieces, anything where you need volume and variation fast and nobody is going to be looking closely at the third bird from the left. That is most of the actual feather work on a real production anyway.
It is free, it is Geometry Nodes so it stays inside Blender’s native toolset, and it is built on a workflow most of us already know. Worth a look even if feathers are not on your plate this month — the underlying idea, reusing your groom as the driver for a completely different asset type, is one worth stealing for other things too.
This is based on 80.lv’s coverage and the tool’s published feature list — I have not put it through a full production test yet, so treat the animation-deformation question above as open rather than answered.