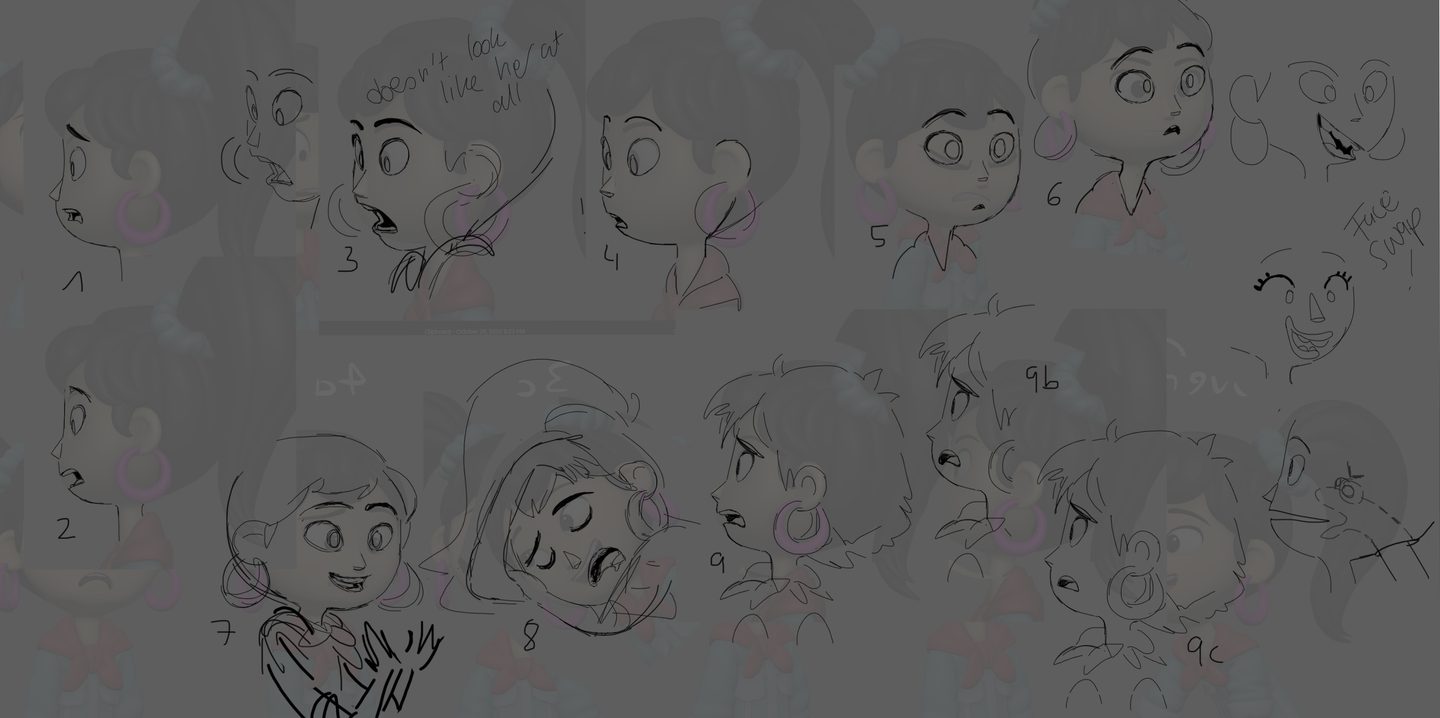
You build the hairstyle. In the viewport it looks right — clean chunky clumps, nice silhouette, the shape you drew. Then you spin the light around it and the whole thing falls apart into a hundred separate glossy ribbons, each one catching a highlight at its own angle, the head suddenly wearing a bag of tinsel.
Everyone hits this. It is the single most common reason stylized hair reads as amateur, and it has nothing to do with the geometry you spent all day on.
The problem is the surface normals
Whether you built the hair from cards or from curves, you ended up with a lot of small separate surfaces sitting near a skull. Each of those surfaces carries its own normals, describing which way it faces. The renderer believes them. So it lights each clump as an independent object — a flat ribbon here, a tube there — and the specular response goes in a hundred directions at once.
Real hair does not behave like that, and stylized hair especially does not. Stylized hair is drawn as a mass. One volume, sitting on a head, with the light sweeping across it in a single coherent band. That is the whole look. Toriyama, Yoshida, every anime key artist you can think of — the highlight is one shape, not a hundred.
So you lie about the normals.
The fix, which is old and costs nothing
Build a smooth proxy in the shape of the hair mass. A helmet, basically — a rough dome over the skull following the outer silhouette of the hairstyle. It never renders. It exists to be a source of good normals.
Then transfer its normals onto your actual hair geometry. In Blender that is the Data Transfer modifier with Face Corner Data set to custom normals, or the Normal Edit modifier if the shape is simple enough to point at a single origin. Maya calls it a normal transfer off a target mesh. Every DCC has this, and every one of them buries it somewhere annoying.
Now the light sweeps across the whole head of hair as though it were one dome. The clumps keep their silhouette and their geometry, and they stop arguing with each other about where the sun is. It is a five-minute operation that does more for the read than a week of adjusting card placement.
The cost is real and worth knowing. You have thrown away per-strand surface form. Individual clumps no longer catch light on their own facing, so hair that needs to look wet, or matted, or physically layered will look flat and plastic instead. Which is why realistic characters get a blend — the transferred normals mixed maybe seventy per cent against the originals, keeping the mass read while letting some strand detail survive. For a fully stylized character, go all the way and do not look back.
What the curve tooling actually changed
There is a wave of curve-based hair tooling around at the moment. Blender’s hair curves system has matured, geometry-nodes add-ons like Stylized Hair PRO build whole hairstyles procedurally on top of it, and GS CurveTools does the equivalent job in Maya. The pitch is that you draw a curve and the geometry follows, which beats placing several hundred quads by hand.
It is a genuine improvement to the authoring loop, and I would not go back. But it changes where you spend your afternoon, not what ships. Curves still resolve to triangles before the engine sees them. You still need UVs that run along the strand. You still bake your strand detail down from a groom into an alpha and a normal map. And you still, at the end, have a pile of separate surfaces with their own normals — so you still do the transfer.
Nothing about drawing hair as curves saves you from the lighting problem. It just gets you to the lighting problem faster.
Where stylized hair genuinely wins
Transparency sorting. This is the part I would push people towards when they are deciding how stylized to go.
Hair is the classic sorting nightmare in real-time rendering. Alpha-blended surfaces have to be drawn back to front to composite correctly, and a head of hair is dozens of overlapping semi-transparent cards with no stable ordering as the camera moves. You get flickering, cards popping in front of cards, that crawling edge on every silhouette. The usual mitigations — alpha to coverage, depth prepass, sorting by clump — all cost something and none fully solve it.
Stylized hair mostly sidesteps this. Chunky opaque clumps with hard silhouettes need alpha clip rather than alpha blend. Masked mode, one bit of transparency, no ordering required, and the depth buffer behaves. Wispy realistic hair is what forces you into blending, and blending is what forces you into the sorting mitigations, and those are what eat your frame budget on a character that is on screen constantly.
A stylized head of hair is often three or four times cheaper to draw than a realistic one at the same silhouette quality. That has been quietly true for fifteen years and it is still the reason a lot of art directions land where they land.
Anyway. Build the helmet, transfer the normals, then go and look at your character under a rotating light before you call it done. Half the hair work I see posted has never been spun.